Table of Contents
Empty Diagrams
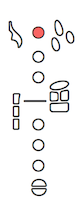
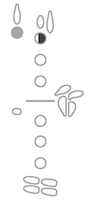
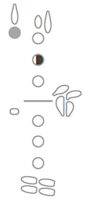
The first step to creating a fingering diagram is selecting the desired empty fingering. This is done with the number keys starting with the 1 key. The empty fingerings vary by instrument but the 1 key is generally the most common professional keywork configuration with all trill keys and optional keys hidden.
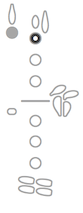
The 2 key is often a student model instrument or other common variant, once again without any trill keys.
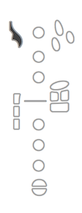
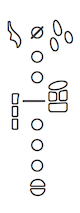
Adding the shift key to any of the empty diagrams will show all trill keys and uncommonly used keys.

Empty fingerings can be further customized by selecting specific empty trill keys or optional keys to be visible with the other number keys. (Particularly rare optional keys may be accessible using the shift key combined with one of the number keys.)
Adding Keys
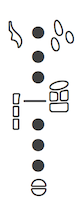
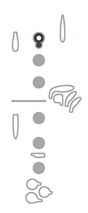
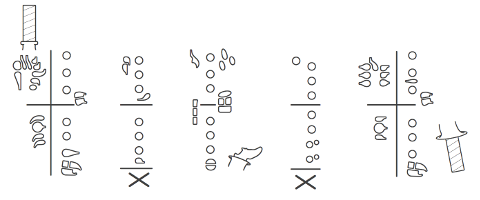
After the empty fingering diagram has been entered you can begin indicating the keys or toneholes that will be used. These keys or toneholes are assigned based on home row typing.
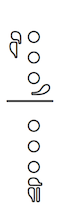
In home row typing the first finger on the left hand rests on the F key; therefore typing the F key will display the primary tonehole or key for that finger.
Similarly, the D key on the computer keyboard will display the left hand second finger tonehole or key.
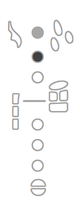
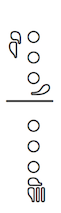
So a full fingering diagram for a low D on a saxophone would be entered as follows:
Other keys are entered using the key on the keyboard most analogous to the key's position on the instrument. The row below home row is usually used for thumb key and side keys:
The row above home row is usually used for secondary finger keys.
Trills
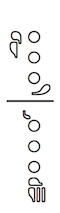
The most clear way to indicate a trill is to color the keys that are to be trilled a different color.
Since switching color may not always be possible or desirable the shift key can be added to any key to add a slash and indicate a trill.
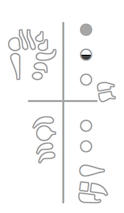
Half-Holes
If a half-hole or ring fingering is part of the standard technique of an instrument (oboe, English horn, bass clarinet, bassoon, recorder) it can be entered using the regular font. (G on oboe, English horn and bassoon; R on bass clarinet; C on recorder)
Unconventional half-holes can be entered by switching the font style to italic.
Quater-Holes and Three-Quarter-Holes
Quarter-holes are entered by typing one row lower in italics.

Similarly, three-quarter-holes are entered by typing one row higher in italics.
Ring Fingerings
Ring fingerings are entered using the shift key in italics.
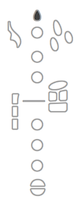
Special Devices
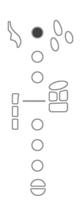
Depending on the instrument, some additional graphics are available for certain special techniques. These are usually created by typing 0 (zero). Often they will extend beyond the standard font size and may not be visible until printed. Adjust line-spacing to insure visibility.
Alternative Entry of Extended Techniques
On Macintosh systems it is also possible to enter any extended technique that would normally require switching to italics by adding the option key.
When the E, U, I, O or N keys are used in combination with the option key it is necessary to press the key again (this time without the option key).
Complete Lists
For a full list of available diagrams, keys, extended techniques and special devices (and their assignment on the computer keyboard) check these instrument-specific PDFs. These PDFs are also included in the font download.